
Home / Blog / How to Paint a 3D Printed Dragon
How to Paint a 3D Printed Dragon: 7 Beginner Steps
To paint a 3D printed dragon, start with a clean, primed dragon, brush on thin coats of acrylic paint, then dry brush a lighter color over the scales so the detail pops. The one thing that's different with a flexi dragon is the joints: keep paint out of the gaps and bend each segment while it dries, or you'll end up with a stiff dragon that won't wiggle.
That's the whole idea. Here's how to do it step by step, even if you've never painted a model before.
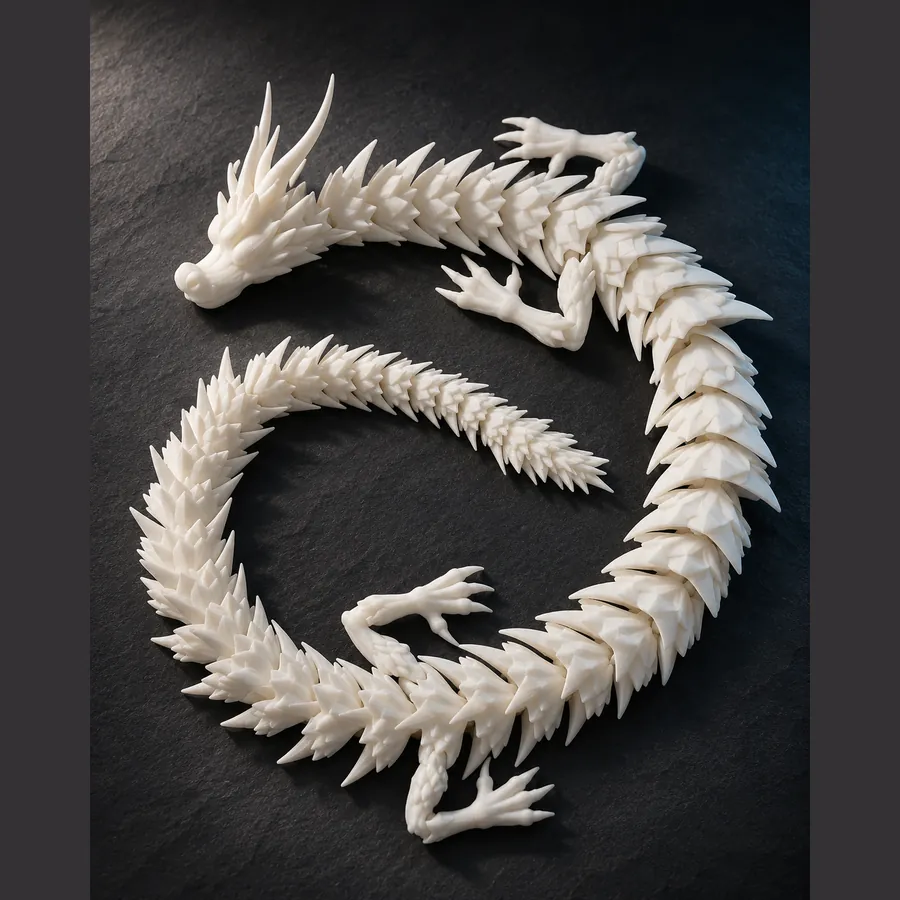
What you need
- A clean, primed dragon (white primer is the easiest base for bright colors)
- Acrylic paints: a base color, a lighter shade of it, and one or two accent colors
- A small detail brush for eyes and claws
- An old flat or stiff brush for dry brushing
- A cup of water, a paper towel, and a plate or lid to use as a palette
- Optional: water-based matte or satin varnish to seal it
If you get the dragon with the DIY paint kit, most of this is in the box. The dragon comes primed white, with 6 mini pots of non-toxic acrylic paint, 2 brushes and a how-to card. You'll just need water and a paper towel.
Pick a color plan first
Dragons look best with a simple plan: one main color, a lighter version of it for the highlights, and a contrast color for small parts like the eyes, horns and claws. Here are a few combinations that are hard to get wrong.
| Look | Base coat | Dry brush | Accents |
|---|---|---|---|
| Forest dragon | Dark green | Light green or yellow | Gold horns, yellow eyes |
| Fire dragon | Red | Orange | Black claws, yellow eyes |
| Ice dragon | Light blue | White | Silver or dark blue claws |
| Shadow dragon | Black | Gray or purple | Red or green eyes |
| Bone dragon | Leave it white | Light brown, very lightly | Black eyes and claws |
Step 1: Clean the dragon
Dust and finger oils stop paint from sticking. If your dragon is unprimed, wash it in warm soapy water, rinse and let it dry fully. If it's already primed, a quick wipe with a dry, soft brush is enough.
Step 2: Prime it (or skip if it's primed)
Primer gives the paint something to grip and makes colors brighter. Use a spray primer made for plastic, held at a distance in light passes, outside or somewhere well ventilated. Two light coats are better than one heavy one, because heavy primer fills the gaps between segments. Bend the dragon gently once the primer is dry to the touch.
Step 3: Brush on the base coat
Thin your base color with a drop of water so it flows like melted ice cream, not toothpaste. Paint the body in long strokes along the length of the dragon, one section at a time. Don't load the brush and push paint down into the joint gaps. Those gaps are what let it move.
It'll look patchy after the first coat. That's normal. Let it dry and add a second thin coat.
Step 4: Flex every joint as it dries
This is the step most guides skip, because most dragons don't move. While the paint is drying but still slightly soft, gently bend the dragon a few times, segment by segment, from the neck to the tail. Do it again once it's fully dry. If a joint feels tacky or stuck, wiggle it slowly side to side until it frees up. Never force it.
Don't speed up drying with a heat gun, a hair dryer on high, or a sunny car dashboard. PLA softens above about 55 °C (130 °F), and warm, soft plastic can warp or fuse at the joints.
Step 5: Dry brush the scales
Dry brushing is the trick that makes a beginner paint job look like a pro did it. Dip just the tip of your stiff brush in the lighter color, then wipe almost all of it off on the paper towel. The brush should look nearly dry.
Now flick it lightly across the scales, spikes and ridges. The paint only catches on the raised edges, so the deep parts stay dark and the detail jumps out. Build it up slowly. You can always add more, but it's hard to take it back.
Step 6: Paint the small details
Switch to the detail brush for the eyes, horns and claws. Rest your painting hand on the table to keep it steady. For eyes, a small dot of a bright color with an even smaller dot of black in the middle gives the dragon a face. Bigger dragons are easier here, which is one reason the 12 inch is the best size to paint (more on that in our flexi dragon size guide).
Step 7: Seal it (optional)
If the dragon is going to be played with or carried around, brush on one thin coat of water-based matte or satin varnish once the paint is fully dry. It stops the paint from rubbing off on the edges. Keep it thin and flex the joints again as it dries, just like in step 4.
Common mistakes to avoid
- Paint too thick. It hides detail and clogs the joints. Two thin coats beat one thick one.
- Forgetting to flex. A dragon that dries in one pose can stay stiff.
- Too much paint when dry brushing. If it leaves streaks, wipe the brush more.
- Rushing. Let each coat dry before the next one, and keep it away from heat.
Is painting a good activity for kids?
Yes, with an adult nearby. Water-based acrylics wash out of brushes with water, and steps 3 and 5 are easy for kids to do on their own. Spray primer is a job for an adult, which is why a pre-primed dragon makes things simpler. The dragons have small parts, so they're not for children under 3.
Quick answers
What paint should I use on a 3D printed dragon?
Water-based acrylic paint. It sticks well to primed PLA, cleans up with water, and goes on in thin coats that won't clog the joints.
Do I need to prime a 3D printed dragon before painting?
Priming helps the paint stick and makes colors look brighter. A dragon from the DIY paint kit already comes primed white, so you can start painting right away.
How do I keep the joints from getting stuck?
Keep coats thin, don't push paint into the gaps between segments, and gently bend each joint a few times while the paint is drying.
Should I seal a painted flexi dragon?
It's optional but worth it if the dragon will be handled a lot. One thin coat of water-based matte or satin varnish protects the paint from rubbing off.
Want a dragon to paint? The articulated dragon comes in four sizes, from the $8 keychain to the $35 16-inch. Add the DIY paint kit for $8 more and it arrives primed white with paints, brushes and a how-to card.
Shop the articulated dragon